Sewing is an important stage in jeans production. In a previous article we described the steps of yarn processing and weaving. This article gives you a clearer picture of how jeans are cut and sewn.
1. Pattern making and preparation
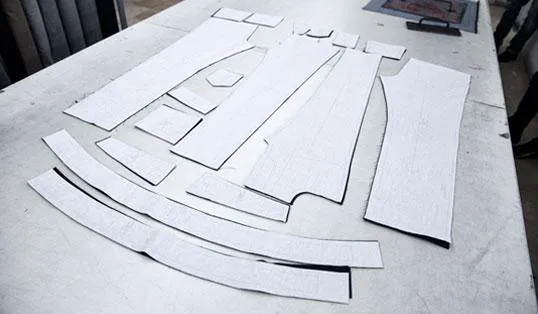
This is arguably the most important step in cutting and sewing jeans, and it takes a designer with years of experience. Every new style goes through many rounds of testing before the pattern is right.
Pattern making means designing each part of the jeans and measuring the exact size of each piece for cutting.
Fit testing
Once the first draft of each piece is ready, the designer cuts and sews a sample to test the fit. The designer then adjusts the pieces if needed, and every adjustment means sewing another sample. When the fit is final, the manufacturer moves on to fabric testing.
Fabric testing
Every fabric has to be tested. The test shows how much the fabric shrinks after washing, so the manufacturer can cut it in a way that the jeans shrink to exactly the intended size after the wash. Usually the designer cuts one pair by hand, then sews and washes it to measure the result.
2. Cutting layout and sewing
Cutting
In making jeans, cutting is the second most important step after design. In industrial production, denim is cut by machine, around 50–100 layers at a time, so a small mistake in cutting can mean a whole batch has to be thrown away.
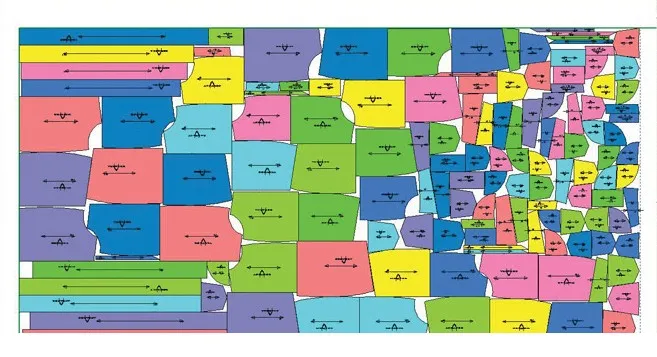
To cut denim, the fabric is spread on a large flat table, with the layers stacked on top of each other and kept perfectly flat.
Following the cutting layout, the fabric is cut into pieces matching each part of the jeans. Depending on the manufacturer, each piece is numbered or marked and sent to the matching sewing station.
Sewing
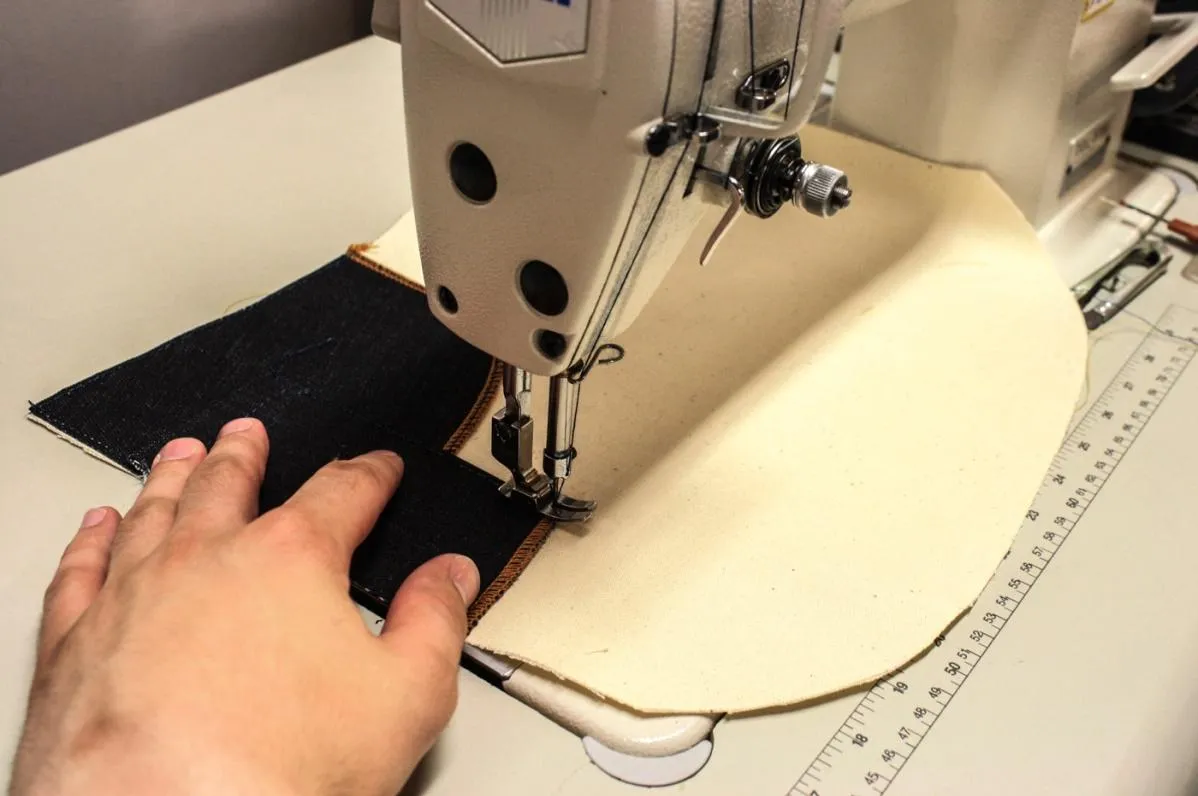
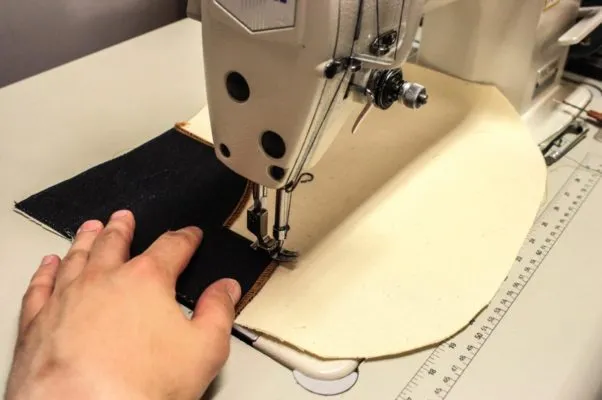
Almost all jeans manufacturers sew jeans on a production line, where the parts are assembled into a finished pair.
Manufacturers may use different sewing processes, with the parts sewn in a set order. Below is an example of a jeans sewing process.
Preparing the parts
- Sewing the belt loops
Belt loops are fairly easy to sew, especially with a specialised machine.
- Sewing the front pockets and coin pocket
The front pockets are sewn together with the pocket lining, and the coin pocket is sewn onto the front pocket, ready to be attached to the jeans.
- Sewing or marking the buttonhole and button position.
Many manufacturers only mark the buttonhole position and sew it after washing, so the buttonhole is not affected by the wash.
Assembling the front
- The front pockets are sewn onto the front panels. Manufacturers usually use a twin-needle machine to make two parallel lines of stitching; with a single-needle machine, the line has to be sewn twice.
- Sewing the fly: the zip is sewn directly onto the front panels.
- Sewing the front rise: once the front pockets and zip are done, the last step for the front is sewing the crotch seam.
Assembling the back
Assembling the back is simpler than the front.
- Sewing the yoke, the horizontal seam below the waistband (see yoke)
- Sewing the back pockets
- Sewing the back rise
Finishing the sewing
Once the front and back are finished, the two are joined and bar-tacked. To make the jeans stronger, manufacturers add bar tacks at stress points such as the back pockets, the fly and the belt loops. Besides making the jeans sturdier, bar tacks also add a finished look.
Related articles
Quality control and finishing